News
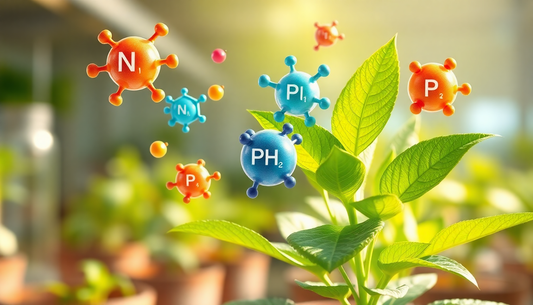
What Does K Do for Plants? Uncovering Its Impact
Understanding the Role of Potassium in Plant Growth When it comes to the well-being of plants, potassium (K) often stands out as one of the essential nutrients. But what exactly...
What Does K Do for Plants? Uncovering Its Impact
Understanding the Role of Potassium in Plant Growth When it comes to the well-being of plants, potassium (K) often stands out as one of the essential nutrients. But what exactly...
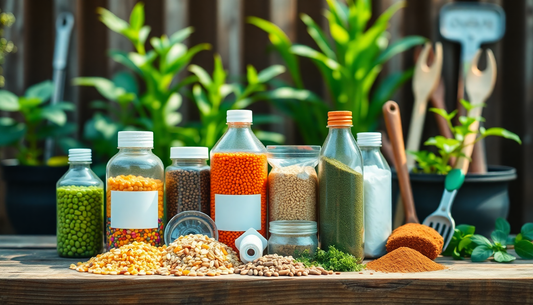
How to Use Fertilizer Effectively and Easily
Understanding the Basics of Fertilizer Fertilizer is like food for your plants, but it’s not just about tossing it around and hoping for the best. A good understanding of what...
How to Use Fertilizer Effectively and Easily
Understanding the Basics of Fertilizer Fertilizer is like food for your plants, but it’s not just about tossing it around and hoping for the best. A good understanding of what...
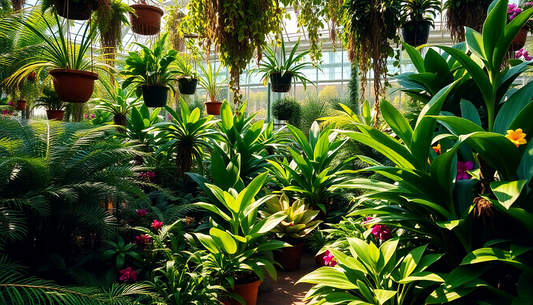
Do Plants Eat? Unraveling Their Unique Feast
The Peculiar Question: Do Plants Eat Food? It's a curious conundrum that occasionally pops into discussions about nature and biology: Do plants eat? At first glance, it seems like a puzzling...
Do Plants Eat? Unraveling Their Unique Feast
The Peculiar Question: Do Plants Eat Food? It's a curious conundrum that occasionally pops into discussions about nature and biology: Do plants eat? At first glance, it seems like a puzzling...
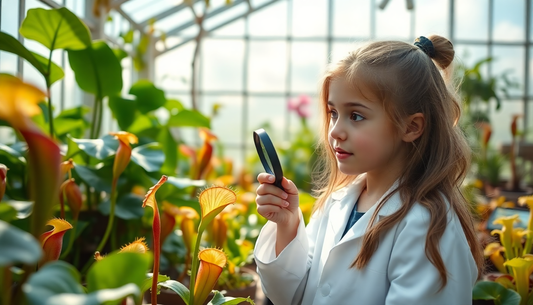
Limiting Nutrients for Plant Growth Unveiled
Introduction to Plant Nutrients Alright, let's dive into the fascinating yet sometimes baffling world of plant nutrients! Have you ever wondered why some plants flourish while others seem to struggle...
Limiting Nutrients for Plant Growth Unveiled
Introduction to Plant Nutrients Alright, let's dive into the fascinating yet sometimes baffling world of plant nutrients! Have you ever wondered why some plants flourish while others seem to struggle...
What is Plant Food: A Comprehensive Guide
Understanding Plant Food Basics If you're a gardening enthusiast or someone who's just dipping their toes into the world of greenery, you might be curious about what exactly plant food is. Plant...
What is Plant Food: A Comprehensive Guide
Understanding Plant Food Basics If you're a gardening enthusiast or someone who's just dipping their toes into the world of greenery, you might be curious about what exactly plant food is. Plant...

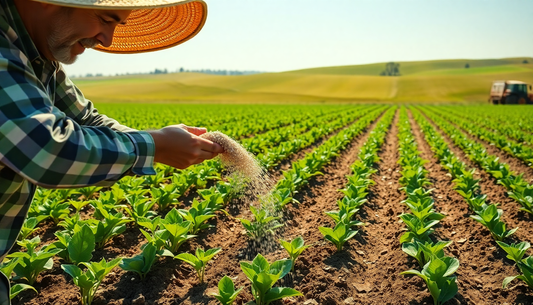
How Much Fertilizer Per Plant: A Gardener's Guide
Understanding the Basics of Fertilization When it comes to growing vibrant and healthy plants, understanding **how much fertilizer per plant** is crucial. Fertilization is the backbone of gardening success, offering...
How Much Fertilizer Per Plant: A Gardener's Guide
Understanding the Basics of Fertilization When it comes to growing vibrant and healthy plants, understanding **how much fertilizer per plant** is crucial. Fertilization is the backbone of gardening success, offering...